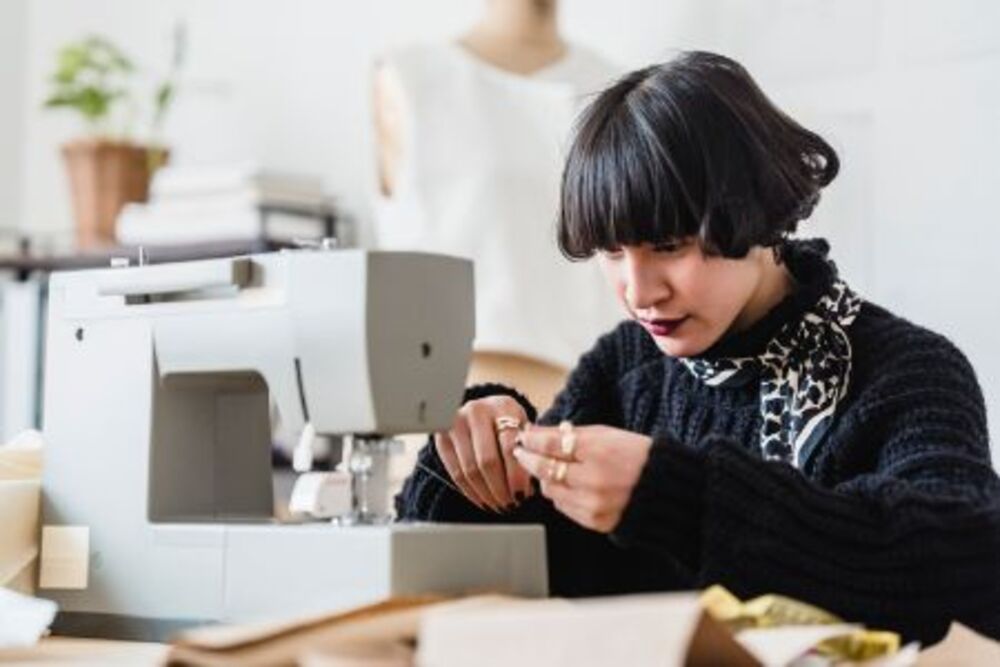
Modern sewing machines offer much more than simple straight seam binding – they can help elevate garment quality through innovative techniques you learn on them and use to your advantage. Know more about embroidery machine for beginners.
Starting off is key for novice sewers, and this article focuses on some fundamental sewing machine techniques necessary for learning the ropes.
Stitching
Step one of sewing with a machine involves mastering different stitching techniques, such as straight and decorative stitches. Furthermore, learning several seaming methods like French Seam or flat-felled seams will ensure that your seams remain durable enough for multiple washes.
Pleat sewing is another popular technique. Pleats add volume and pop of color to clothing while being easy to sew! However, it’s essential to be aware of your energy levels when operating a sewing machine – tiredness or stress could lead to issues in your project! Also be sure to regularly clean your machine to prevent lint or debris build-up which could slow it down or even cause jams!
Sewing a Straight Line
One of the hardest sewing skills for beginners to acquire is straight stitching. Although not everyone finds this task easy to learn and mastering it can take practice; nonetheless, with dedication it can be achieved!
Staying aligned to the needle plate line is the easiest way to ensure straight seams. Many sewing machines feature these lines; if not, draw or tape them onto it yourself.
Concentrate more on aligning your fabric than on stitching as these elements will always be moving – you’ll get much better results this way! If you find yourself having difficulty, a seam ripper can be one of the best tools available to beginner sewists – just be mindful when using it and don’t overdo it as overuse can damage fabric over time.
Sewing a Corner
Sewing corners correctly is essential in many projects from linen napkins to garments, with this sewing technique creating attractive corners with reduced fabric bulk that are simple to turn right side out.
Start by pressing a double-fold hem along all edges of your project. Next, iron the corner to ensure that creases made during Step One match the width of Fold One.
Use a straight edge (such as a piece of sandpaper) to guide your machine needle when stitching around corners. This step is important as you want your stitches not to start in seams; additionally, be careful that any clips don’t interfere with stitching; if they do, snip off some fabric from its point to correct this error.
Sewing a Pocket
Sewing pockets is an integral component of garment construction and adds both function and style. From skirts, dresses, or trousers – sewing with pockets will increase both confidence and skillsets for taking on more complex sewing projects.
As an effective tip for stitching pockets, try marking the stitching lines using tailor’s chalk or a removable pen on your pocket fabric. This will enable you to stitch more precisely and achieve a neater shape overall.
Inseam pockets can add functionality without adding unnecessary bulk. If using a pattern, use any markings on its pieces as guides for positioning the pocket and back-titch around its edges for a cleaner finish.
Sewing Pleats
Pleats add texture and volume to fabrics. Pleats come in many varieties – they can be left unpressed so the fabric folds naturally, or sharp pleats can be pressed onto fabric for crisp pleats. There are various kinds of pleats; how they’re stitched can dramatically change how they appear in fabric.
Pins can be effective pleating tools, while basting is recommended when it comes to pleating large or bulky fabrics that are difficult to hold down with pins. After pleating, press pleats following pinning so as to maintain neat pleats which remain flat; only use an iron setting which is appropriate for your fabric type in order to avoid burning, scorching or ripping issues.
